
All About: A space a day series, day 4 PANTRY TIME!
- Meg
- Aug 11, 2016
- 2 min read
day 4: THE pantry
Y'all made it to the last day! Congrats and thank you! You are well on your way to an organized kitchen and a more organized life!
But just an FYI, depending on the size and level of clutter of your pantry, you may need to slot a weekend day for this as it may be too involved for an evening after work.
1. Clear everything out (noticing a theme here?). This can take a lot of time. But as you are clearing, have a doubled trash can liner handy to throw out anything expired, close to expired, or just anything that looks suspect. Ask yourself questions like - when was the last time you used those shamrock sprinkles...?
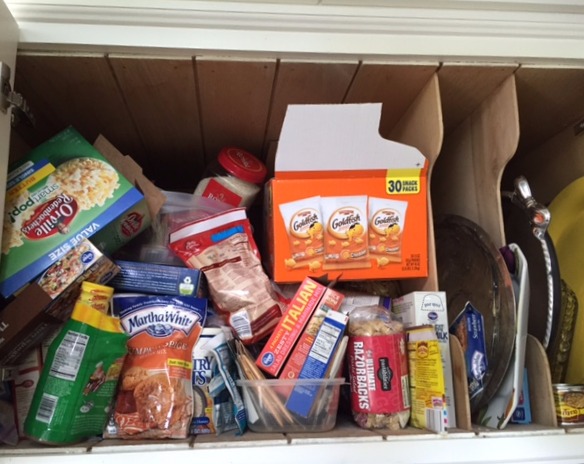
before


2. Just like you did with the fridge, reunite those lost family members.
"Reunited and it feels so goooood."
3. Give this area a good cleaning and disinfecting. Pantries are breeding grounds for those bugs I call "mealy bugs" who love food as much as you do. Be ruthless, use a vacuum!
4. Are the floors and shelves of your pantry older and/or stained from years of use? Add a fresh look by lining them with white contact paper. I found this great, easy to use white "dry erase board" contact paper and lined any place that had that "not so fresh" feeling. BONUS, you can label areas with a dry erase marker! WERK!
during


5. After your thorough expiration exploration, it's time to put those families back in their homes. I like to "bin up" some families that are not often used, like all of the popcorn making or cake-decorating condiments. That way, when it's time to make either, you just pull out the bin and have everything you need. It makes clean-up a snap as well.
***Storage tip: this client had a high super deep, hard to reach cupboard atop her main pantry. Known to professional organizers as a "black hole". As items came in, older items were pushed to the back and lost/out of reach/out of sight. I made a box to fit the black hole and covered it with contact paper. The box filled up all but about 12" depth of the space. I then added easy to view shelving to make up for the lost storage. It's working very well!
after


Thanks for being a part of my first "Space a day" series. If you followed these tips, in less than a week you should be well on your way to a more organized kitchen. As always, give yourself some room for error, it could take up to a month to complete these tasks. But after tackling 1 space you'll start to have the confidence and knowhow to tackle the next one. You are on your way to a more organized home!
Peace, love, and labelmakers y'all!
Meg


Comments